Showing posts with label easy. Show all posts

Wednesday, 11 March 2015

Cute DIY Wall Decor

Hello!

A few months ago I was feeling really unsatisfied with my bedroom. There was nothing on the wall. Now, I had this giant blank wall and I thought for ages and ages on what to do with it. I'm the type of person who needs things to look good for me to be happy with it, so I couldn't just put anything up there. So I searched endlessly on Pinterest (follow me ;) @tianahbanana97 ) for inspiration on what I should do and I ended up really liking the idea of having a photo wall where I could swap and change the pictures I had up.
So I decided to make a post about how I did it and how I like it :)


What you'll need:
- a bunch of twine
- 6 or so command hooks or nails (I would recommend nails if you can use them, otherwise the second smallest clear command hooks)
- miniture pegs
- a whole lot of printed photos

Now what you need to do!

1. To start with, decide how many strings of photos you want or will fit. Then depending on that number, measure out on your wall how far apart the hooks need to be and mark it. I made mine around 34cm between each of my three strings.
2. Next you'll want to attach your command hooks according to the instructions of the packet so the hook is facing away from where the twine will be. Like so.
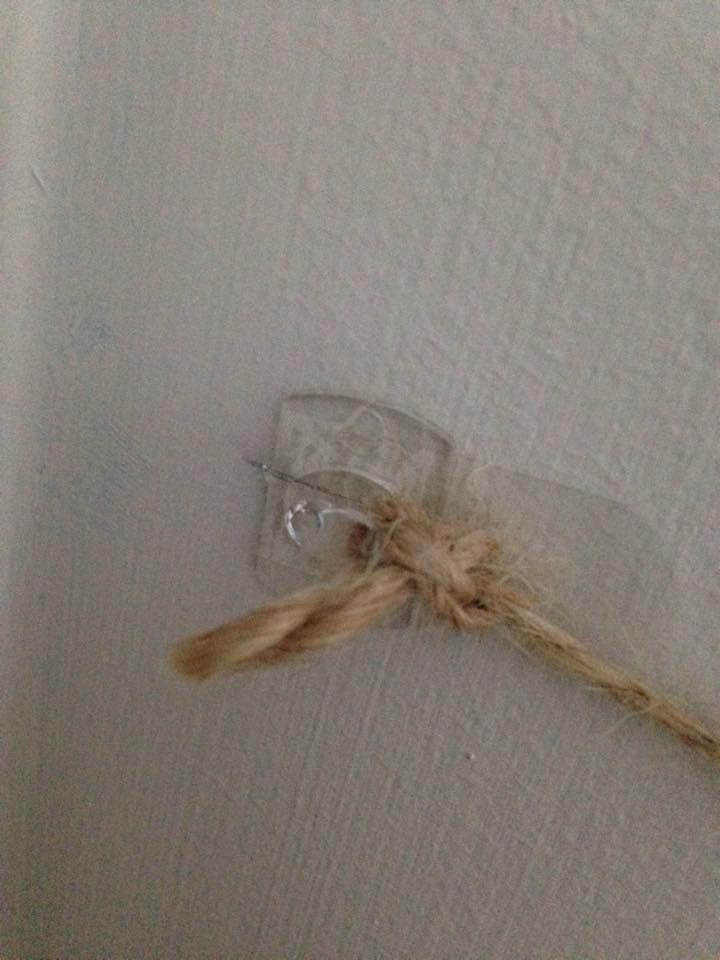
Step 3

If you are using nails, then just drill the nail into the wall, and ignore the first part of the next step.
Leave it for at least an hour before you continue to the next step. I was impatient and didn't wait, so one of my strings fell down on me which wasn't fun, so I really recommend waiting :P
3. After the hour has passed, you can unravel some twine and make a small loop at the end of it and tighten it around the hook. Then carry the twine to the hook on the other side and adjust the length of it to your liking. I draped mine a bit so it would have a more tumblr-y feel to it. Also take into account that the photos that you put on it will make it droop lower that it is without the photos.


4. Next you just want to get your photos and start pegging them up randomly on the strings.
And your done!

A really easy way of personalising your wall without having to make commitments :)

- Tianah xo


Thursday, 30 October 2014

Berry breakfast smoothie!

Hello!

Lately I've been trying to eat healthier and excersise more often to get fit for summer (only 1 month to go!) so I've been making smoothies in the morning. It's surprisingly filling and it tastes so good! Berries are great sources of antioxidants which can improve your health, hair and skin, as well as preventing specific diseases.
So here's the recipe! 

Ingredients:
- a handful of frozen raspberries and blackberries
- a small bunch of frozen blueberries
- 5 or so fresh strawberries
- tropical juice 

Method:
1. First, wash your strawberries, take the leafy part off and halve them.
2. Next, throw your strawberries, blueberries and raspberries into a blender. 
(I got this small one for $39 at Target which is designed so you can drink it straight from the blending cup, so it't great!)

3. Then just fill up your blender with enough tropical juice that it covers three quarters of your berries - this gives a nice consistency that isn't too thick or thin.
4. Now just blend it up and your all g!


If the raspberries and blueberries that you're using aren't frozen, you can just add 1/2 cup to 1 cup of ice, depending on how you like your smoothies. 
Also, you can add any greens like kale, spinach etc, or bananas (I found that it really overpowered the berries when I added banana, so I took it out) or anything really, this recipe is very customisable so if you don't like something in this recipe, then you can easily switch it out with other fruits or vegetables. 


Hope this helped you!
Goodbye and goodluck!

- Tianah xo

Friday, 28 February 2014

DIY Customised Phone Case

Okay, as I have an iPhone 5, there are so many different cases and covers to choose from. However, choosing one from the shelf at the shops just doesn't always satisfy my creativeness!

So after some browsing I found the perfect clear phone case. I think the blue edges give it more personality than a plain clear case too! 

So what I did to personalise it was get some scrapbooking paper with a pretty pattern on it, and trace the outside shape of the case onto the paper with a pencil. 


Then what you'll need to do is cut it out. Now you'll need to remember to trace and cut out the camera hole so you can still take gorgeous pictures!


Now you can just slip your paper into the case and put your phone in :) 


This is perfect if you're the kind who likes to change their phone case every other day but don't want to break the bank by buying 1000 different cases, like mwah aha. You can just cut out as many different background slips as you like and keep swapping them out :) 

- Tianah xo